Your First Plant in Hortola: From Photo to Care
You’ve downloaded Hortola, and you have a plant in front of you. What comes next?
Start with a photo. From there, you can explore the plant’s identification, check its health, and save it to your garden so its information and care stay together.
This guide walks you through that first plant, from taking a useful photo to building a record you can return to.
1. Choose a plant to start with
Pick a plant you can photograph clearly and check on again later. A houseplant on your desk or a potted plant by the window is a good place to begin.
You don’t need to know its name. Finding that out is part of the process.
If you already know what it is, you can still use it to get familiar with Hortola and start keeping track of its care.
2. Take a clear photo
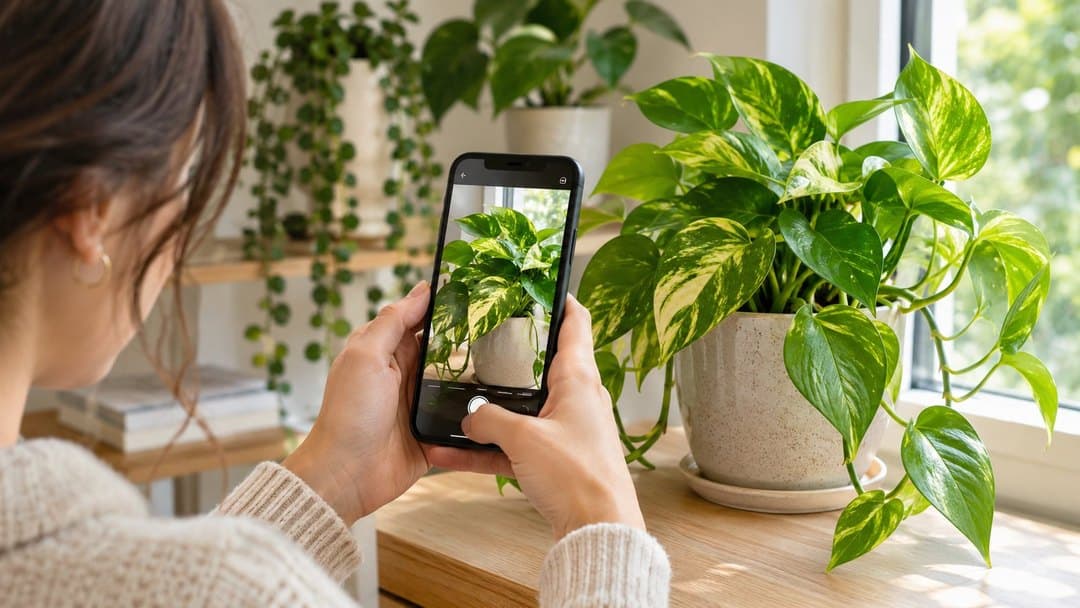
Open Hortola and use the plant identification feature to photograph your plant.
Aim for a photo that makes its features easy to see:
-
Use bright, even light so the leaves are clearly visible.
-
Keep the camera steady and check that the plant is in focus.
-
Include several leaves and some of the stem where possible.
-
Keep nearby plants out of the frame so it’s clear which one you want to identify.
-
Avoid filters that change the plant’s colors.
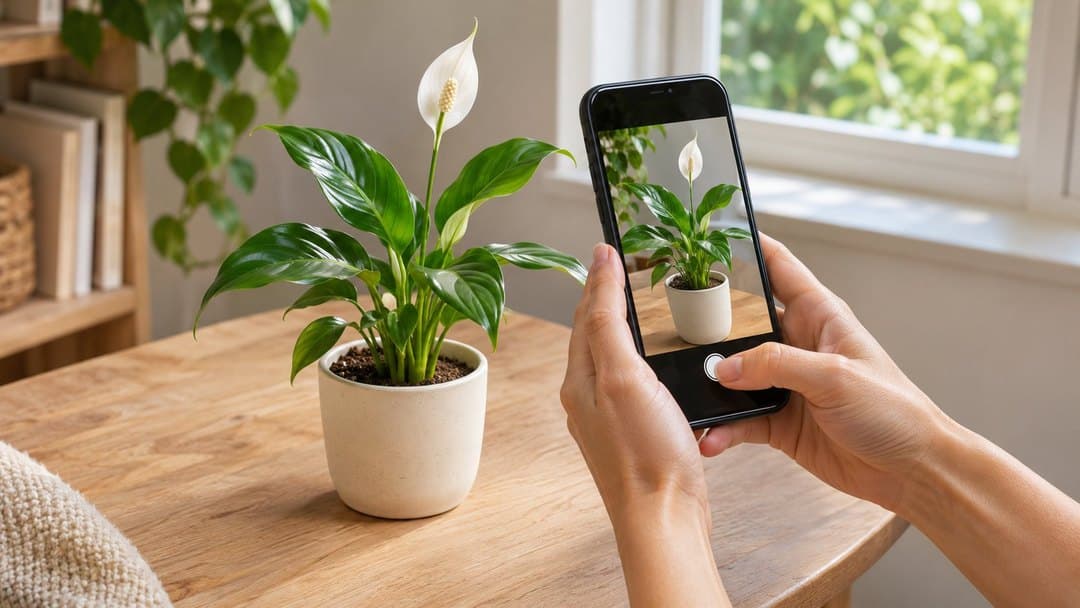
For a trailing plant, try to show both its leaves and how they grow along the stem. If it has flowers, include them when you can without making the rest of the plant too small in the photo.
3. Explore the identification
Hortola provides an identification that includes a common name and a scientific name.
Take a moment to compare the result with your plant. Look at the leaf shape, markings, and growth habit. Does the suggested identity seem consistent with what you can see?
For example, your shelf plant might be identified as golden pothos, with the scientific name Epipremnum aureum. That gives you a starting point for understanding its needs.
Photo identification isn’t always conclusive. If the result seems wrong, try another photo from a different angle or with clearer lighting. Keep the identification tentative if the visible features don’t match.
4. Read the care information
Once you have a likely identification, explore the care information associated with it.
Start with the conditions you can observe at home:
-
Light: How does the guidance compare with the plant’s current location?
-
Temperature: Is the plant near a draft, heater, or air-conditioning vent?
-
Soil: What substrate does the guidance describe?
-
Watering: What should you check before watering again?
Use this information alongside your observations. A plant’s needs can vary with its environment, so check its actual conditions before changing your routine.
You can also review the toxicity information, especially if you share your home with children or pets. An uncertain identification shouldn’t be used to establish that a plant is safe.
5. Check its health assessment
The photo also gives you a starting point for exploring your plant’s health.
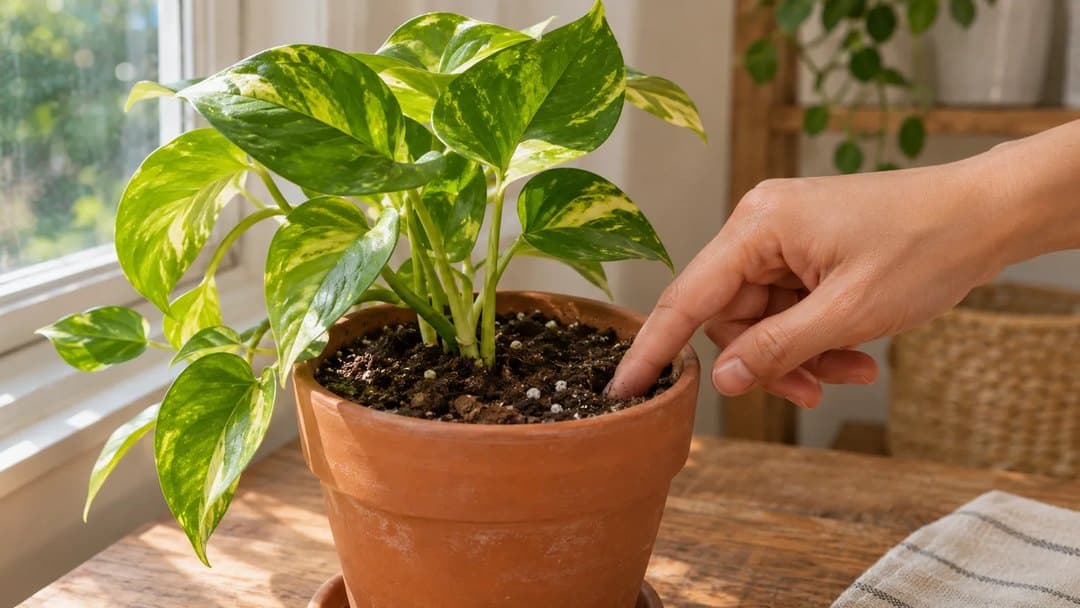
If Hortola flags a possible problem, read the likely issue, the alternative explanation, and the suggested plan. Compare those possibilities with what you know about the plant: when you last watered it, whether you recently moved it, and what has changed.
You don’t need to act on every possibility at once. Start by understanding the assessment and checking the relevant conditions.
If you need help interpreting it, you can ask Hortola’s AI gardening assistant, the Gardener, a follow-up question. Adding details about your plant’s environment can make the conversation more useful.
6. Save the plant to your garden
Save your plant in Hortola so you have a place to return to its information and follow its care.
If you’re starting with several plants, work through them one at a time. Photograph each plant separately and check its identification before saving it. This helps keep each record connected to the right plant.
Your first saved plant is the beginning of a garden you can build over time.
7. Come back and add to its story
Once your plant is saved, explore the weekly tasks and use the journal to record the care you provide.
When you add another photo, Hortola runs the health check again. Taking follow-up photos from a similar angle and in similar lighting can make changes easier for you to compare.
Over time, those entries become a useful history: what you did, what you noticed, and how the plant changed.
Start with the plant beside you
Your first step doesn’t need to be complicated.
Take a clear photo, explore the identification, read the care information, and save your plant. Then return as you get to know it.
Open Hortola and add your first plant to your garden.